12 Jul From Prep to Pop: Interior Painting Tips That Add Instant Wow to Any Room
Don’t Panic—Here’s How to Nail Your Interior Painting Project with Confidence
Tackling an interior painting project might seem overwhelming at first, especially when you’re faced with moving furniture, choosing the right paint finish, or dealing with imperfections on the walls. But with some careful planning and an understanding of the painting process, it becomes a straightforward and even rewarding DIY project. Begin by assessing the condition of your interior surfaces. Any cracks or gaps should be filled using a reliable filler, and mould growth must be treated with appropriate sealer products. The amount of preparation work directly affects the final finish, so take time to sand, clean, and prime the surfaces properly. Rooms with high moisture—such as kitchens or bathrooms—often require a special undercoat or water-based primer to ensure durability.
Once your surfaces are ready, it’s time to choose the best paint for the job. Factors such as paint finish, colour depth, and coverage matter just as much as the way you apply your paint. A low sheen finish works well for most interior walls, offering a balance between easy cleaning and aesthetic appeal. The ceiling and trim will typically need different finishes, so use a separate brush or roller for these areas to ensure a clean result. If you’re painting over dark colours, you may need two coats or a tinted primer to avoid uneven coverage. Always allow the recommended drying time between coats. Whether you’re painting one room or the entire interior of a house, confidence comes from following a structured process. When in doubt about surface preparation or achieving a professional-grade result, many Auckland homeowners trust PBF for expert advice and finishing.
What Are the Basics of Interior Paint Selection?
How to Choose the Right Interior Paint for Your Project?
Selecting the right interior paint starts with understanding the surface you’re working with and the environment of the room. High-moisture areas like bathrooms or kitchens require water-based products with mould resistance, while low-traffic spaces can accommodate more delicate finishes. Colour choice plays a significant role—not just in style but in function. Lighter shades can make small spaces feel larger, whereas darker tones add warmth and depth. It’s also important to consider the type of primer you’ll need, especially if you’re repainting over a dark colour or previously wallpapered wall.
Beyond the visual outcome, the finish and durability of the paint are essential. A low sheen or matte finish is ideal for hiding imperfections on interior walls, while semi-gloss is better suited for trims and window frames due to its durability and ease of cleaning. The way you apply your paint—whether by roller or brush—can influence the final result, especially around door frames and corners. For a high-quality outcome, ensure interior surfaces are properly cleaned, primed, and filled before painting begins. Skipping these steps can result in uneven coverage and reduce the lifespan of the paint job.
What Factors Affect the Cost of Interior Painting in NZ?
The overall cost of interior painting in New Zealand can vary widely depending on the scope of the project. Factors such as the size of the area to be painted, the number of coats required, and the condition of the interior surfaces all influence the final price. For instance, if the walls have cracks, holes, or mould growth, this repair work adds both time and material costs. Rooms with high ceilings, multiple windows, or intricate trim also demand more labour and precision. Most homeowners will benefit from using an interior painting cost calculator to gauge potential expenses.
Labour rates and regional differences in NZ also contribute to the cost. Professional painters charge based on the time involved and the complexity of the work. Material choices, such as low VOC or oil-based paints, can also raise the overall cost. The amount of preparation work—including moving furniture, sanding, and applying undercoat—should not be underestimated. Accurate quotes take into account not just the surface area, but also the preparation required to ensure a long-lasting, high-quality finish. Engaging a project manager can help streamline these elements and avoid budget surprises.
What Are the Best Paint Finishes for Different Interior Surfaces?
Different parts of a home interior require different paint finishes to achieve both durability and aesthetic appeal. For most living areas and bedrooms, a low sheen finish offers a good balance between subtle texture and the ability to hide surface imperfections. This makes it ideal for broad wall areas where a smooth, refined look is desired. In contrast, a higher sheen is typically better for areas that need to be cleaned often, such as kitchens and bathrooms, or for features like window frames and skirting boards that are prone to wear and contact.
Ceilings generally require a flat or matte finish, which helps to reduce reflection and conceal uneven textures or past repair work. Doors and trims benefit from semi-gloss or gloss finishes due to their resilience and ease of cleaning. When painting interior surfaces with noticeable flaws, choosing the right finish is just as important as the colour itself. If you’re unsure about how to prepare surfaces or which paint finish suits your project, many Auckland homeowners turn to PBF for plastering and surface prep that ensures the best paint result.

How Do You Prepare Interior Walls for Painting?
What Is the Importance of Using a Primer Before Painting?
Applying a primer before painting the interior of a house is a critical step that many DIYers overlook. Primer creates a stable, sealed surface that helps interior paint adhere more effectively, providing better coverage and reducing the number of topcoats required. It also evens out surface porosity, allowing for a consistent finish across different materials like drywall, old paint, or repaired patches. For areas previously exposed to smoke, moisture, or heavy stains, a stain-blocking or water-based primer can stop discolouration from bleeding through the new paint job.
In rooms with high moisture or where mould growth has previously occurred, priming becomes especially important. Surfaces that are not primed correctly may show imperfections, have poor coverage, or result in early peeling and flaking. Using the right undercoat prepares the surface to accept the topcoat evenly, while also extending the life of the paint. In some cases, such as when painting over wallpaper or dark colours, a specific type of primer may be required to ensure proper sealing and uniformity.
How to Properly Sand and Fill Imperfections?
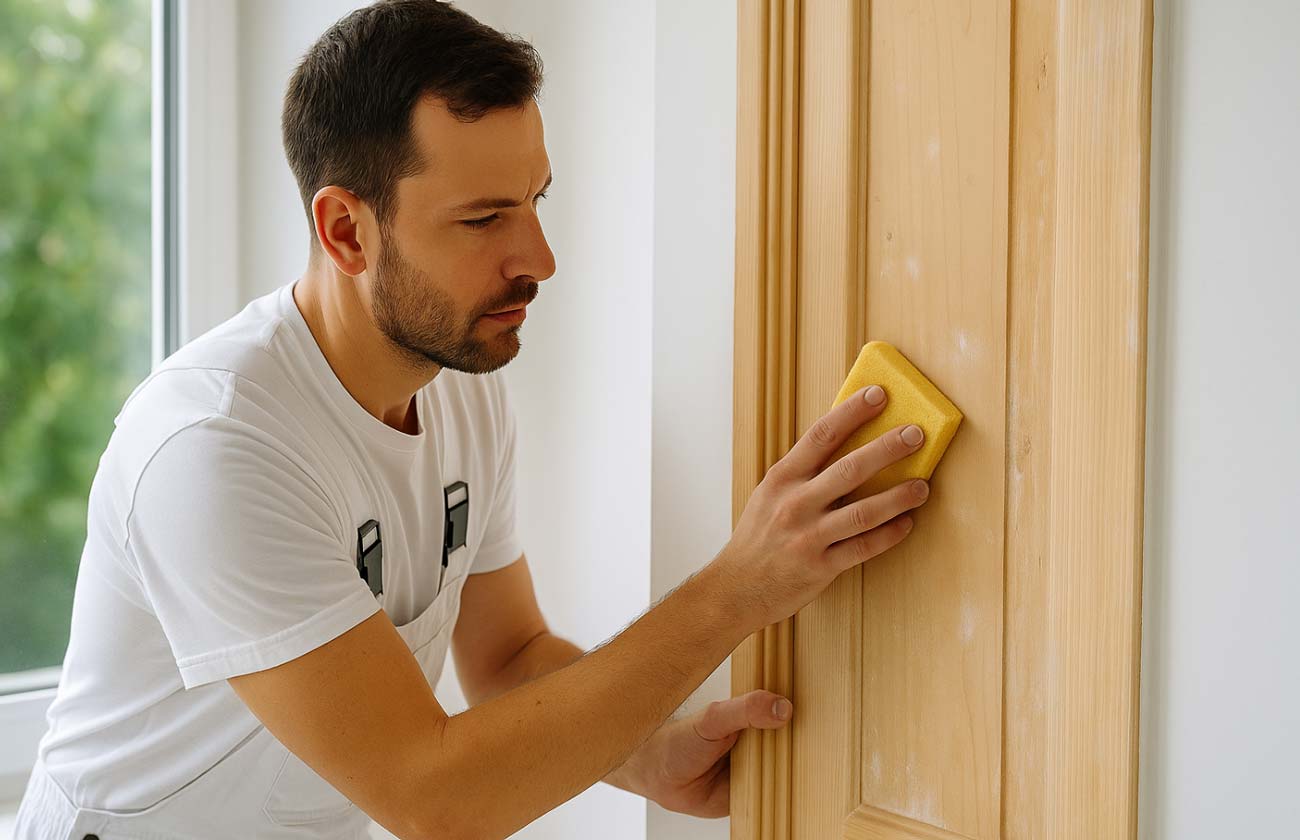
Sanding and filling are essential steps to achieve a professional finish on interior walls. Before any paint is applied, you firstly need to sand the surface to remove rough patches, flaking paint, or uneven textures. This ensures the new paint adheres cleanly and doesn’t highlight existing imperfections. After sanding, clean and wipe the surface thoroughly to remove any dust or debris that may interfere with adhesion. The way you prepare the walls will directly impact the quality of the paint finish, particularly under strong light or on feature walls.
Once the surface is smooth, use an appropriate filler to repair any cracks, nail holes, or dents. Allow the filler to dry fully before lightly sanding it back for a flush finish. For interior surfaces with more extensive damage or inconsistent levels, it’s vital to use the correct filler type and application method. In many home interior projects, the expertise of a service like PBF helps ensure preparation is carried out to a high standard, providing the best base for painting.
What Are the Steps to Select the Right Filler for Your Walls?
Choosing the right filler depends on the size and nature of the imperfection you’re addressing. Hairline cracks and nail holes typically require a lightweight filler that is easy to apply and sand. For deeper gaps, such as those found near window frames or in older homes, a more robust compound may be needed—especially if the damage is structural or due to movement. Start by evaluating the type of surface and the scope of the project, as some fillers are designed specifically for plasterboard, timber, or previously painted walls.
Next, consider the drying time and ease of sanding, especially if you’re working on a large area or aiming for a tight project timeline. Some fillers can be primed and painted within an hour, while others need longer curing times. Always follow product instructions carefully, and ensure that filled areas are sanded smooth and free from dust before applying primer. A quality filler helps eliminate imperfections, allowing interior paint to bond evenly for a seamless, long-lasting finish.
What Is an Interior Painting Cost Calculator and How to Use It?
How to Estimate the Overall Cost of Your Painting Project?
An interior painting cost calculator is a practical tool for homeowners looking to understand the likely expenses before starting a painting project. It helps you estimate the overall cost of painting the interior of a house by factoring in surface area, the number of coats required, and the condition of the existing interior walls. Measurements should include ceiling and wall dimensions, door frames, and window trims, as all of these influence the quantity of paint and labour needed. For accurate results, it’s important to assess whether the walls need to be primed, filled, or repaired before painting begins.
Beyond surface area, the choice of materials also affects cost. Whether you use a low sheen, oil-based, or water-based product will impact both the budget and the look of the final finish. The overall cost also varies depending on the amount of preparation work required—such as sanding, removing wallpaper, or treating mould growth. For larger or more complex jobs, engaging a project manager may improve efficiency and ensure every step of the painting process is accounted for.
What Should You Include in Your Interior Painting Cost Calculator?
To create a realistic estimate, your interior painting cost calculator should consider more than just square metres. Include the number of rooms, wall height, the type of paint used, and whether ceilings, trims, or feature walls are included. Surface condition plays a major role—walls with imperfections, cracks, or high moisture areas will require more preparation time, which increases labour and material costs. You’ll also need to factor in the use of sealer or undercoat, especially when covering dark colours or painting over previously treated surfaces.
Material costs often include primer, filler, masking tape, drop cloths, and tools—these should be part of your calculation even for a DIY project. Some homeowners may underestimate the time and effort needed to move furniture, clean and wipe surfaces, or complete repair work prior to painting. These steps are crucial for achieving a great paint job. If wall surfaces are in poor condition or need plastering before paint is applied, professional support from a service like PBF ensures the project is completed to a high standard.
How to Achieve a Great Paint Job?
What Are the Common Mistakes to Avoid for a Perfect Paint Finish?
One of the most common mistakes in painting the interior of a house is skipping or rushing the preparation stage. Surfaces that aren’t cleaned, filled, and sanded can result in a patchy or uneven finish. Painting over mould, flaking paint, or wallpaper without proper treatment can also lead to adhesion issues. Using the wrong type of primer, or neglecting to use one at all, will affect how well the topcoat adheres, especially on porous or previously unpainted interior surfaces. Another key mistake is applying a second coat too soon, which can lift the first coat and create streaks or peeling.
Incorrect application techniques also contribute to poor results. Using low-quality tools, overloading rollers, or painting in poor lighting can all lead to an uneven paint job. Choosing the wrong paint finish for the space—such as high gloss on imperfect walls—will only highlight flaws. A great paint job starts with proper planning and knowing how to prepare your surfaces thoroughly before you begin.
How to Ensure Proper Coverage When You Paint Interior Walls?
To achieve proper coverage, the first step is to ensure the surface is primed and sealed, especially when dealing with fresh plaster, dark colours, or areas that have been patched with filler. Applying an undercoat suited to the wall type improves coverage and adhesion, giving you a solid base for the topcoat. Painting the interior of a home requires attention to the wall’s condition; imperfections or high moisture levels will impact how evenly the paint spreads and dries. Always stir the paint thoroughly before use to ensure consistent colour and texture.
Working systematically is key. Paint walls in sections, keeping a wet edge to prevent visible lap marks. Avoid stretching the paint too thin, especially in areas prone to wear, such as door frames or trims. The number of coats required can vary depending on the paint used and the colour underneath. If the existing shade is dark or uneven, expect to apply more than one coat for complete coverage. Professional preparation, such as that offered by PBF, helps ensure the final result is smooth and long-lasting.
What Tools Do You Need for a Successful Interior Painting?
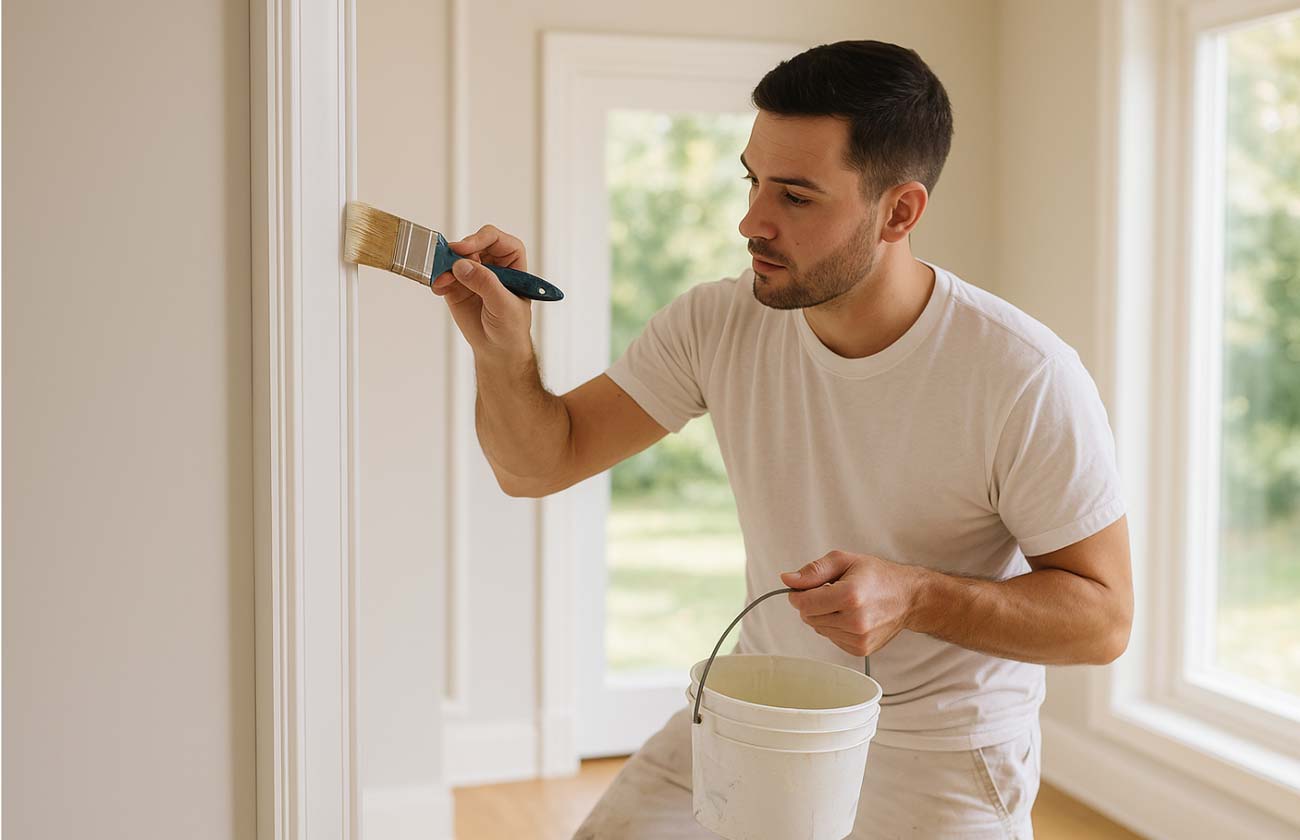
Using the right tools makes a significant difference in the final quality of your interior paint finish. At a minimum, you’ll need high-quality brushes for cutting in, rollers suited to your wall texture, and a roller tray. Angled brushes are ideal for painting edges near trims and window frames, while extension poles can make ceiling work much easier. Drop cloths or plastic sheeting protect floors and furniture, and painter’s tape helps ensure sharp lines around skirting boards and switches. A step ladder is also essential for reaching high spots safely.
Surface preparation tools are just as important. You’ll need sandpaper or a sanding block to smooth out imperfections, a filler to repair cracks or holes, and a damp cloth to clean and wipe down interior walls. A reliable primer and undercoat will help your paint adhere properly, and safety gear such as gloves and masks may be necessary, especially when working with low VOC or oil-based products. Having all your tools ready before you begin ensures your painting project runs smoothly from start to finish.
Should You Hire Superior Painters or DIY?
What Are the Benefits of Hiring Professional Painters?
Hiring professional painters offers several advantages, particularly when you’re aiming for a consistent, high-quality finish throughout your home interior. Experienced painters understand how to assess surfaces, select the right paint finish, and work efficiently with minimal disruption. They are trained in health and safety procedures and are equipped to handle water-based, low VOC, and oil-based products correctly. A professional will also know how to deal with interior surfaces affected by mould, high moisture, or previous poor paint jobs—ensuring the new coat lasts longer and looks better.
Another key benefit lies in the preparation stage. Professionals take time to properly sand, fill, and prime each wall, which is essential for a durable and smooth result. The amount of preparation work required is often underestimated by homeowners, especially when dealing with ceiling and wall junctions or detailed trims. For those looking to repaint several rooms or the entire interior of a house, hiring experts can save both time and effort, while delivering a superior finish.
What DIY Tips Can Help You Achieve a Professional Look?
For those choosing a DIY project, preparation is the foundation of a great paint job. Start by cleaning the walls thoroughly to remove dust and grease, and use filler to repair any cracks or dents. Once dry, sand the surface smooth and wipe it down with a damp cloth. Priming is critical—particularly when painting over dark colours or raw plaster—as it allows the paint to adhere properly and helps achieve a more even tone across the room. Make sure the area is well-ventilated and protected with drop cloths.
Investing in quality tools will also make a noticeable difference. Use angled brushes for cutting in around trims and ceiling edges, and a good roller for large wall areas. The way you apply your paint matters; work in small sections and maintain a wet edge to avoid visible lines. If imperfections are still visible after priming, lightly sand and reapply the undercoat. For more complex preparation, such as plastering uneven surfaces, many Auckland homeowners trust PBF to provide a smooth and professional base before painting begins.

How to Maintain Your Newly Painted Interior Surfaces?
How to Clean and Care for Your Painted Walls?
Maintaining newly painted interior walls requires a gentle, consistent approach to preserve the finish and prolong the life of your paint job. Begin by dusting walls regularly using a soft cloth or a vacuum with a brush attachment, especially in high-traffic areas or rooms prone to moisture. When deeper cleaning is needed, use a damp sponge or cloth with a mild solution of water and detergent. Always test in an inconspicuous area first to ensure the paint doesn’t react or lift. Avoid abrasive scrubbers that may damage low sheen or matte finishes.
For best results, clean from the bottom up to avoid drip marks, and avoid over-wetting the surface. Areas like window frames, door trims, and skirting boards may require more frequent cleaning, especially in busy households. Paint with a superior washable finish tends to be more durable and forgiving during cleaning. Any scuffs or small marks should be addressed promptly to prevent staining or long-term discolouration of the interior surfaces.
What Are the Signs You Need to Repaint Your House Interior?
Over time, even the best interior paint will begin to show signs of wear. Fading, especially in rooms exposed to strong sunlight, can make colours look dull and uneven. Peeling or flaking may indicate that the surface was not properly primed or sealed, or that there has been moisture intrusion behind the paint. Cracks around door frames or along ceiling and wall junctions suggest underlying structural movement, which may require filler and repainting to restore a clean appearance. If washing no longer removes marks, the surface may be due for a fresh coat.
Another common sign is the presence of mould, particularly in high-moisture areas like kitchens or bathrooms. Mould growth should be treated and sealed before repainting to avoid reoccurrence. When the overall finish looks tired, even after cleaning, it’s likely time to repaint. For homeowners needing to repair damaged walls or uneven surfaces before painting, PBF remains a trusted choice for expert plastering and preparation.
Conclusion
A successful interior painting project begins long before the first coat is applied. From selecting the best paint finish for each room to understanding the importance of surface preparation, every step contributes to the final result. Paying attention to details such as filler choice, undercoat compatibility, and how you sand or prime the interior walls can significantly impact how well the paint adheres and lasts. Whether you’re painting one room or the entire house interior, having a clear plan and understanding the scope of the project ensures better coverage, improved durability, and a more attractive finish.
For those managing a DIY project, using the right tools and techniques is just as important as choosing the right interior paint. High-traffic areas, ceilings, trims, and door frames all have unique requirements, and overlooking these can lead to inconsistent results or the need to repaint sooner than expected. Taking time to clean and wipe surfaces, allow for drying periods, and apply sealer where needed will help protect your investment. For preparation tasks that go beyond basic filling and sanding, many NZ homeowners rely on services like PBF to ensure the surfaces are properly finished and ready for painting.
